Installation | High-pressure Misting System - Smart Mist USA
Search

High-Pressure Mist Cooling System

Installation Guide

Smart Mist USA, LLC

1. FIRST

Read the owner's manual for instructions on Adding Oil and Safety Precautions.

This section is intended to serve as a general guide. Each installation is unique.

This section is intended to serve as a general guide. Each installation is unique.

2. Pump Placement

2. Pump Placement

 Find an area nearby where there exists, or can be brought in, water and 110v power. All outlets used must be GFI-protected. In addition, the site needs to be flat, dry, and protected from sun and rain. Example placement may include a nearby shed or garage or under a cabinet or sink. In any case, be sure there is good ventilation to keep the pump from overheating. We have 2 pump enclosures available on the site here.

Water can be brought to the location via a garden hose or schedule 40 pipe. Use Teflon tape and double wrap any threaded water fittings or adaptors. Power can be brought to the location vias an outdoor rated extension cord minimum 12 gauge.

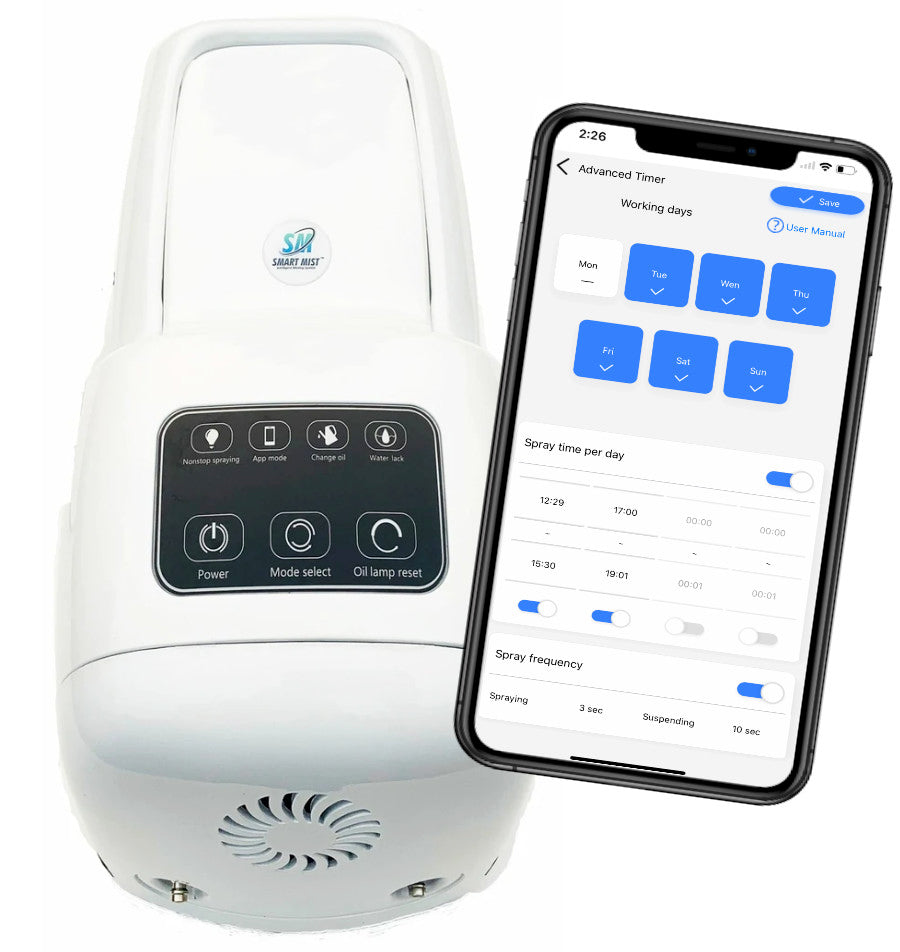
Before Finalizing your location :Do a quick range check to be sure you are within blue tooth range from where you will be sitting on your patio. Do a quick on/off test from your phone. ( Don't run the pump for any extended period at this time )

Important: The pump should be disconnected and brought inside at the end of each season.

The Filter

The Filter

Next, you must fix the included stainless steel filter and housing into an upright vertical position near the pump. Filtration is an essential component of your misting system. Smart Mist USA includes a high-quality stainless steel mesh filter with each high-pressure misting system.

A phosphate filter will be required in locations with high calcium to prevent clogs caused by calcium buildup.

An optional advanced canister filter with a 5-micron cartridge can filter even the tiniest particles. Both the single phosphate and dual phosphate/sediment upgraded filters are available here

Using the smart app with Bluetooth

Using the smart app with Bluetooth

b. To use the smart app function, the pump must be close enough to connect to your device via Bluetooth as discussed above.. The typical maximum range is around 50 feet, but on site, conditions will vary. You must connect via the app and not via Bluetooth settings on your device. See owners manual for app instructions.

Important: When testing to see if the pump is in Bluetooth range, DO NOT run the pump but for a few seconds without the water connection, or the pump will burn out.

3. Tube and Nozzle Installations

3. Tube and Nozzle Installations

c. Sketch out your layout based on your structure and nozzle quantity. Order any additional components that you may need. For stainless steel kits, the standard installation will use the nylon tubing to finish corners and other areas in which the tubes will not meet. This makes for an easy, nearly tool free installation. If you prefer to have an all stainless steel installation and don't spending a little extra time and effort, you can purchase a few additional compression fittings. Please refer to this article for an explanation. A more detailed installation

If you have any questions, please get in touch contact us.

Run your lines only on open sides.

Run your lines only on open sides.

Run your lines on open sides. In other words, its best not to run lines on sides where there is a wall. For nozzle spacing, closer is not better as the droplets can combine into larger droplets that do not evaporate properly. Typical spacing is from 24-30" If you purchased stainless steel tubing, the spacing is pre-set at 24 inches. For nylon tubing, cut the tubing to your pre-determined spacing.

Run your lines on open sides. In other words, its best not to run lines on sides where there is a wall. For nozzle spacing, closer is not better as the droplets can combine into larger droplets that do not evaporate properly. Typical spacing is from 24-30" If you purchased stainless steel tubing, the spacing is pre-set at 24 inches. For nylon tubing, cut the tubing to your pre-determined spacing.

Cut the tubing at 90 degrees.

Cut the tubing at 90 degrees.

The connection from the pump to the nozzles must always be with the nylon tubing to avoid shaking . Be sure to cut the tubing at 90 degrees using the included tube cutter. Cuts at other than a 90-degree angle can cause leakage.

The connection from the pump to the nozzles must always be with the nylon tubing to avoid shaking . Be sure to cut the tubing at 90 degrees using the included tube cutter. Cuts at other than a 90-degree angle can cause leakage.

Attaching the tubing.

Attaching the tubing.

Be sure the tubes are inserted firmly and entirely into the fitting. The fittings are universal and can be used with either the nylon or stainless steel tubing. Feed the system from one end or place a T fitting in a location where you want to bring in the high-pressure line from the pump. Use the provided hose clamps near the nozzle to help prevent sagging. 1 clamp per fitting is sufficient You can purchase extra hose clamps here. Use the appropriate type of screw for the material you are attaching to. You should use stainless steel screws to avoid staining the surrounding area. Avoid trying to hang too many assembled section at a time to avoid fitting damage.

Be sure the tubes are inserted firmly and entirely into the fitting. The fittings are universal and can be used with either the nylon or stainless steel tubing. Feed the system from one end or place a T fitting in a location where you want to bring in the high-pressure line from the pump. Use the provided hose clamps near the nozzle to help prevent sagging. 1 clamp per fitting is sufficient You can purchase extra hose clamps here. Use the appropriate type of screw for the material you are attaching to. You should use stainless steel screws to avoid staining the surrounding area. Avoid trying to hang too many assembled section at a time to avoid fitting damage.

Using stainless steel tube.

Using stainless steel tube.

Chances are, your tubing length when assembled will not be the exact length of your structure. If you want equal distance from the ends of your tube runs to the ends of your structure, take the total length of your structure minus the total length of your tubing run and divide this number by two. This calculation will give you the distance from the end of your structure to start your first nozzle. For standard installation,you have two options to make a 90-degree corner when your two sections do not meet.

1. Extend each end to the corner with nylon tubing and use an elbow in the corner, or 2. Just use nylon tubing to connect the two nozzle fittings with a gentle 90-degree radius in the nylon tubing. Every installation is unique, so a combination of elbows and nylon tubes is typical.

For this installation with all push lock fittings : Do not cut the stainless steel tubing! Small grooves at each end are how the fitting grabs onto the tube. Cutting the tube will leave one end without the groove.

Place the tube mounts near the nozzle.

Place the tube mounts near the nozzle.

Keeping mounts close to the nozzle will prevent sagging.

Keeping mounts close to the nozzle will prevent sagging.

Mount the tubing on the bottom edge of the face of the beam with the nozzles hanging over the edge.

Mount the tubing on the bottom edge of the face of the beam with the nozzles hanging over the edge.

With this installation, you will be able to swivel the nozzles at least 45 degrees inward or outward. Start with them pointing straight down and adjust to get the desired effect for your patio. You can adjust each swivel independently . See this short video for a demonstration

With this installation, you will be able to swivel the nozzles at least 45 degrees inward or outward. Start with them pointing straight down and adjust to get the desired effect for your patio. You can adjust each swivel independently . See this short video for a demonstration

Connect the high-pressure tube.

Connect the high-pressure tube.

d. Connect the high-pressure tube to the beginning of your run or the T fitting you installed in your tubing run. Next, run the tubing back to your pump and connect the quick disconnect fitting. Finally, connect the fitting to the pump.

d. Connect the high-pressure tube to the beginning of your run or the T fitting you installed in your tubing run. Next, run the tubing back to your pump and connect the quick disconnect fitting. Finally, connect the fitting to the pump.

Connect the water.

Connect the water.

e. Connect the water supply to the filter and the filter to the pump.

e. Connect the water supply to the filter and the filter to the pump.

Screw in the nozzles.

Screw in the nozzles.

f. Except for the last one, screw in your nozzles and tighten snugly using pliers. Do not over-tighten.

f. Except for the last one, screw in your nozzles and tighten snugly using pliers. Do not over-tighten.

Open the water valve.

g. Now, open the water supply approximately 1/4 to 1/3 of the way and let it run for a few minutes to cleanse the system and eliminate air. The water should be flowing out of the last nozzle hole.

Check for leaks.

h. Screw in the last nozzle and tighten. Turn on the pump and check for leaks. If there are leaks, it is likely because the tube was not positioned correctly into the fitting. Firmly press in and re-test.

Now enjoy your new cooler outdoor area!

Search